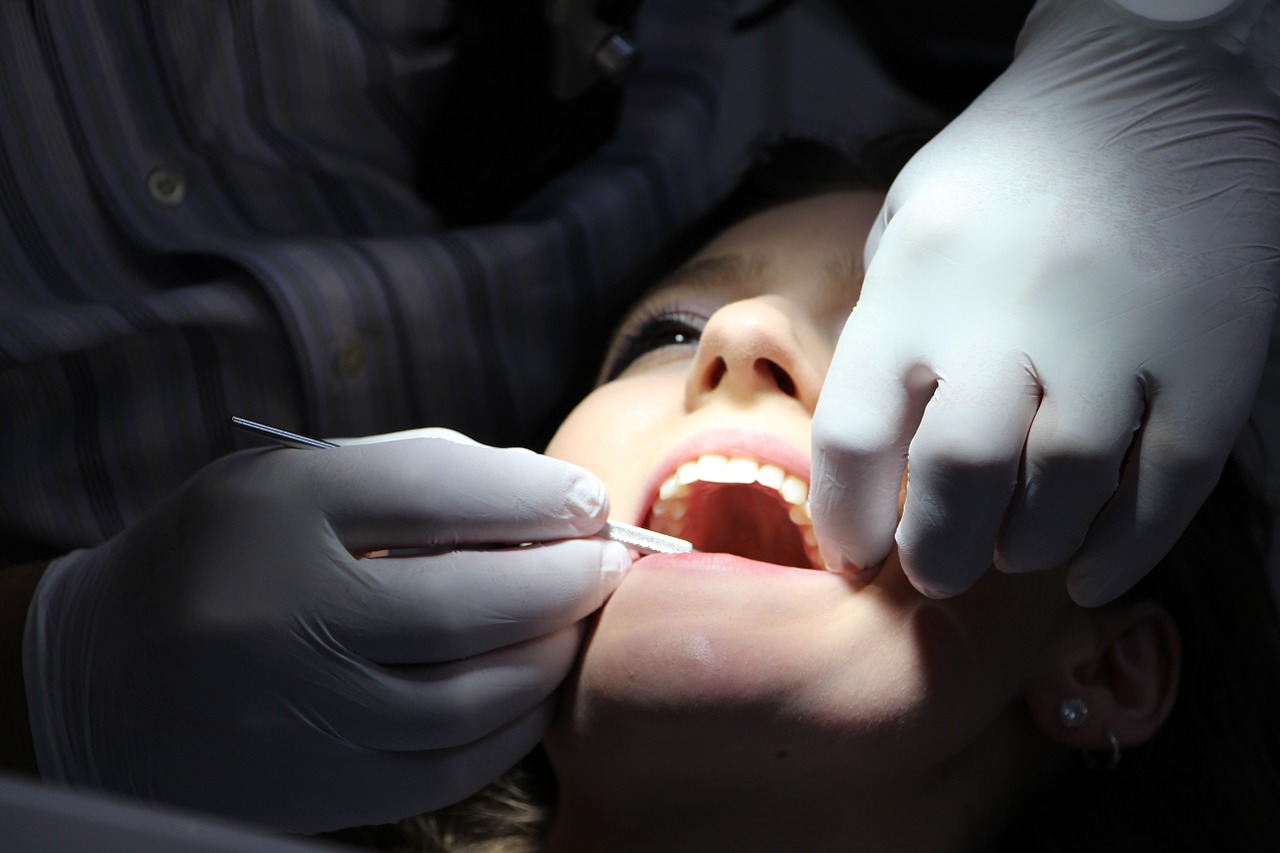


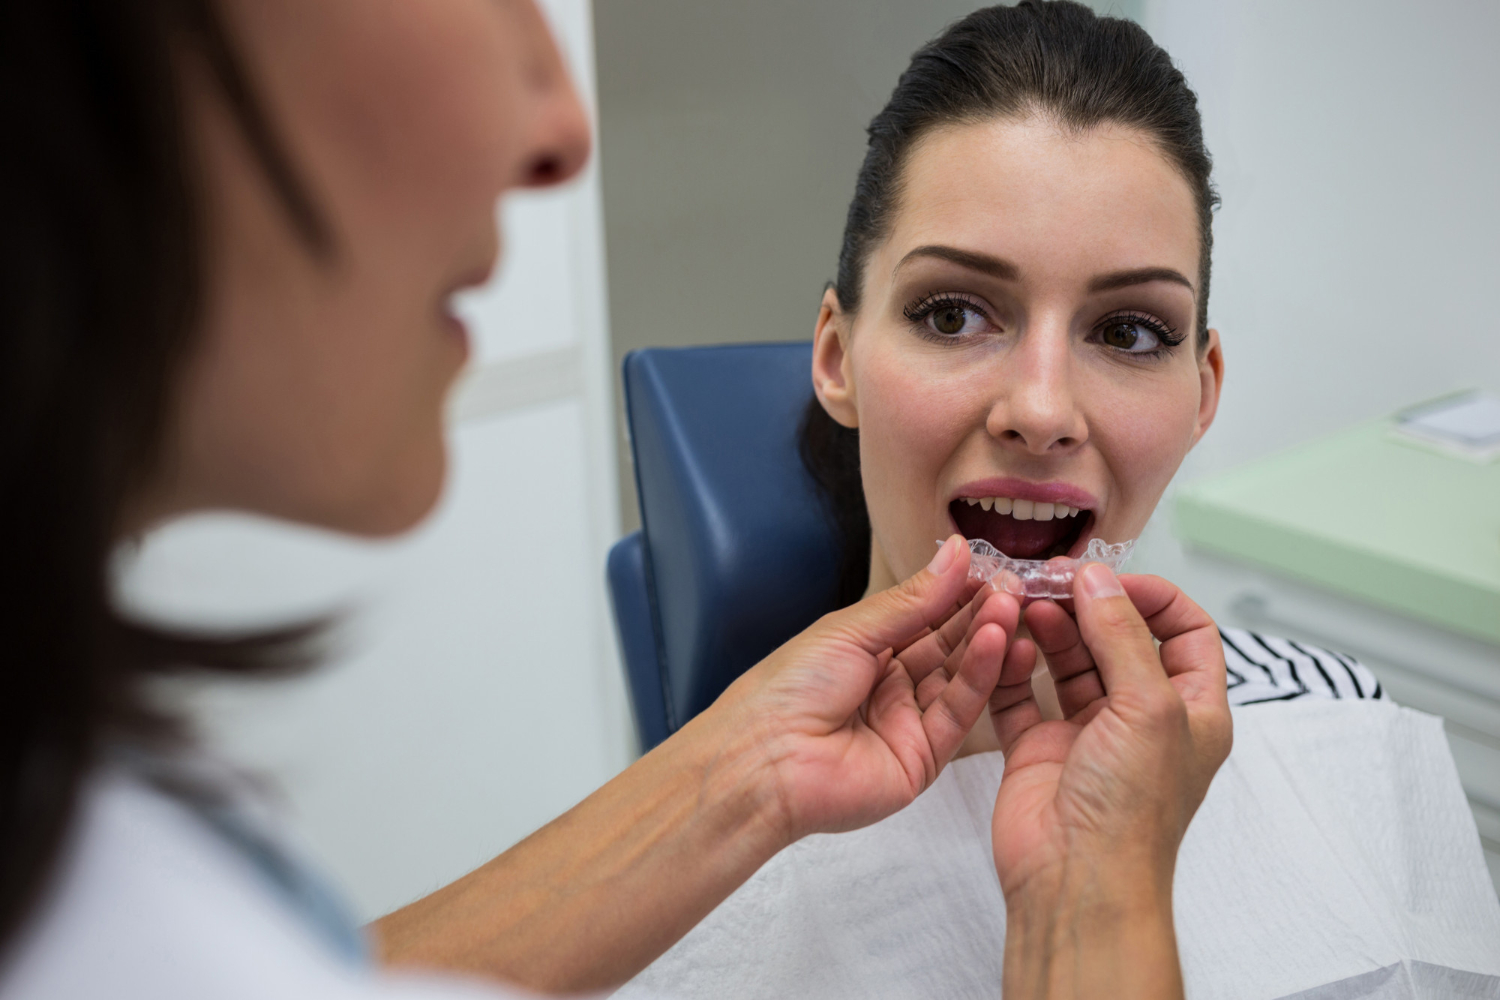
 When teeth do not align properly, chewing pressure is distributed unevenly across the mouth. Some teeth absorb more force than they are designed to handle, leading to premature wear, chips, or cracks. Over time, this imbalance can weaken enamel and increase sensitivity. Misaligned bites can also cause teeth to shift gradually, making the problem worse if left unaddressed. Even routine activities like chewing or grinding at night can accelerate damage when alignment is off. Proper bite alignment helps evenly distribute pressure across teeth, preserving their structure and reducing the risk of long-term damage.


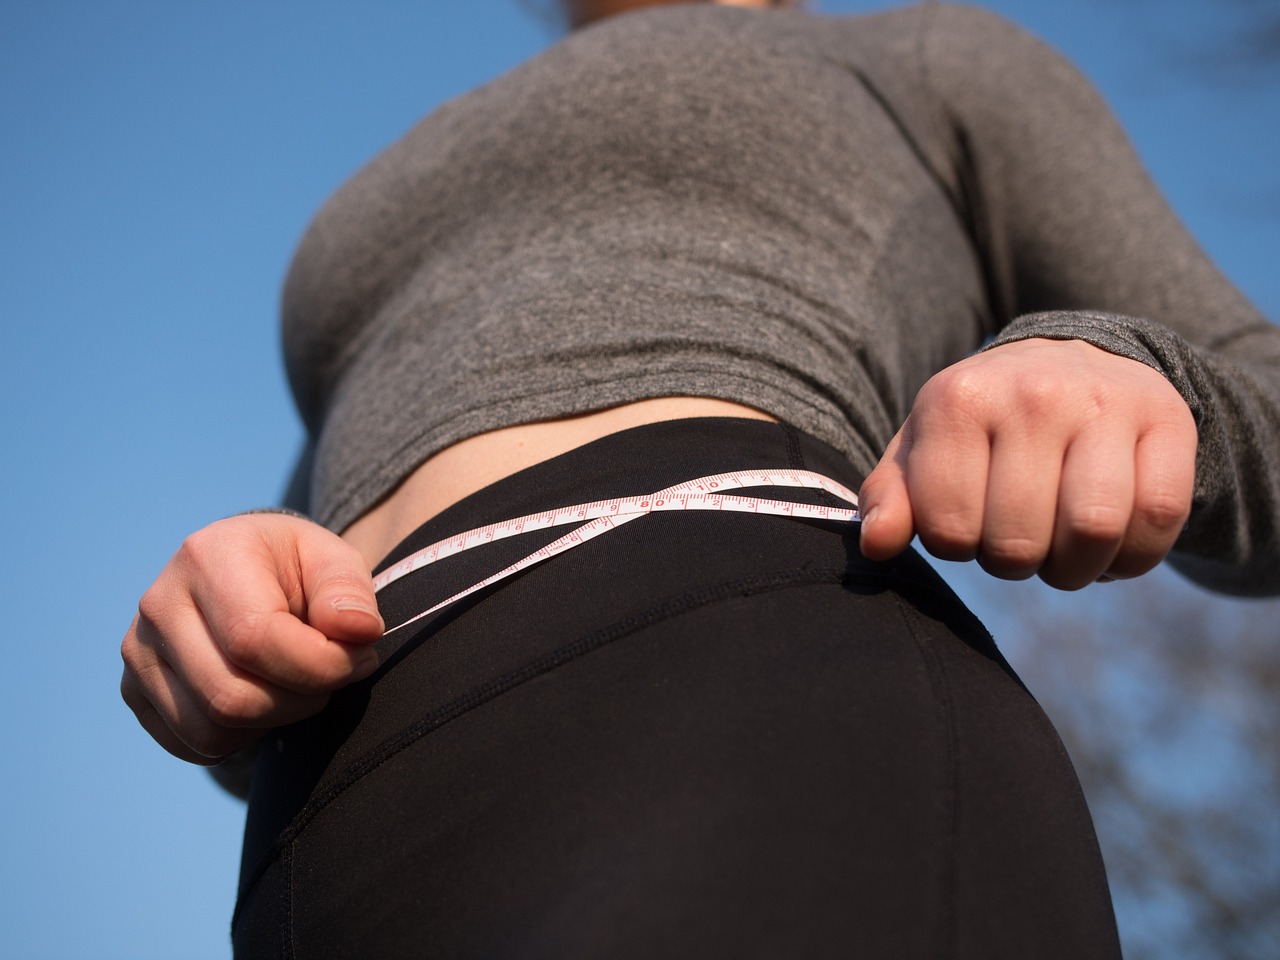
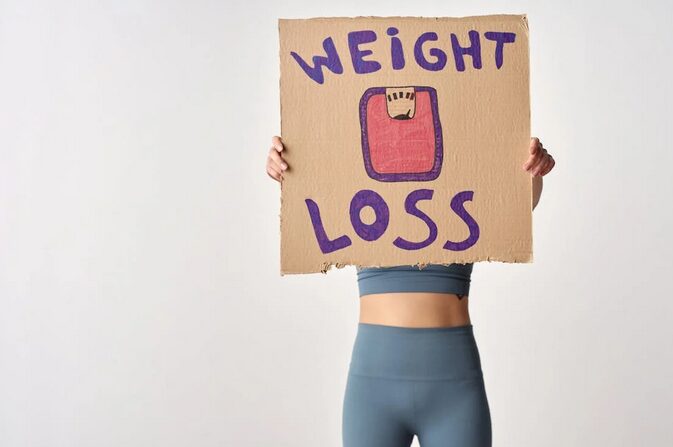
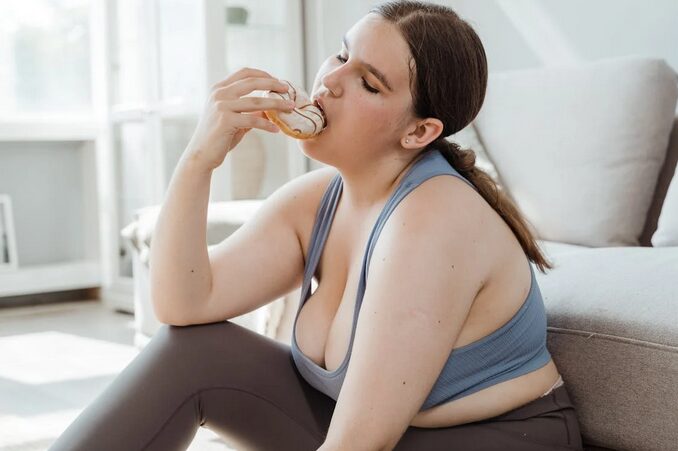
 Setting clear and realistic goals is the foundation of any successful weight loss journey. Instead of aiming for drastic changes overnight, focus on smaller milestones that are achievable. Think about what you want to achieve in a specific timeframe. Perhaps it’s losing one pound per week or incorporating more vegetables into your meals daily. These bite-sized objectives make progress feel manageable. Writing down your goals can also help solidify them in your mind. Create a vision board or use an app to track these targets visually.


 Surfing is more than just a thrilling ride on the waves; it’s an incredible


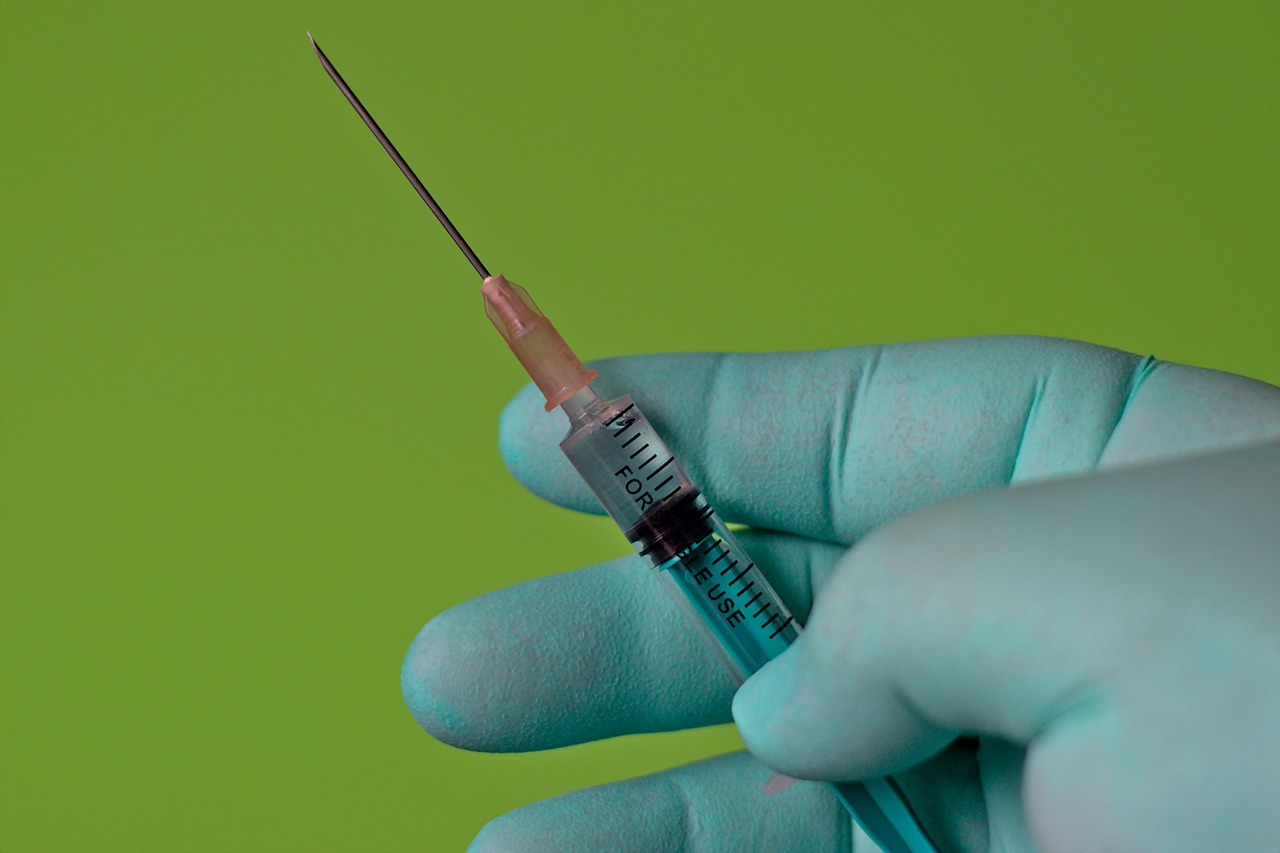
 Behind the popularity, anabolic steroids basically imitate how testosterone works in human bodies. Anabolic steroids can rapidly increase muscle mass and strength, helping individuals achieve their desired physique more quickly. In a world where instant gratification is often sought after, these performance-enhancing drugs offer a shortcut to achieving impressive results in a shorter time frame. Furthermore, anabolic steroids can enhance athletic performance by improving endurance and recovery times, allowing athletes to push their physical limits beyond what they thought possible. This competitive edge is especially appealing to those looking to excel in sports or bodybuilding competitions.
 Remember that everyone’s body reacts differently to steroids, so what works well for one person may not necessarily yield the same results for another. In fact, they often come with various potential side effects that users must be aware of. These can wildly range from mild to severe, depending on dosage and duration of use. Common side effects include acne, hair loss, and mood swings due to …
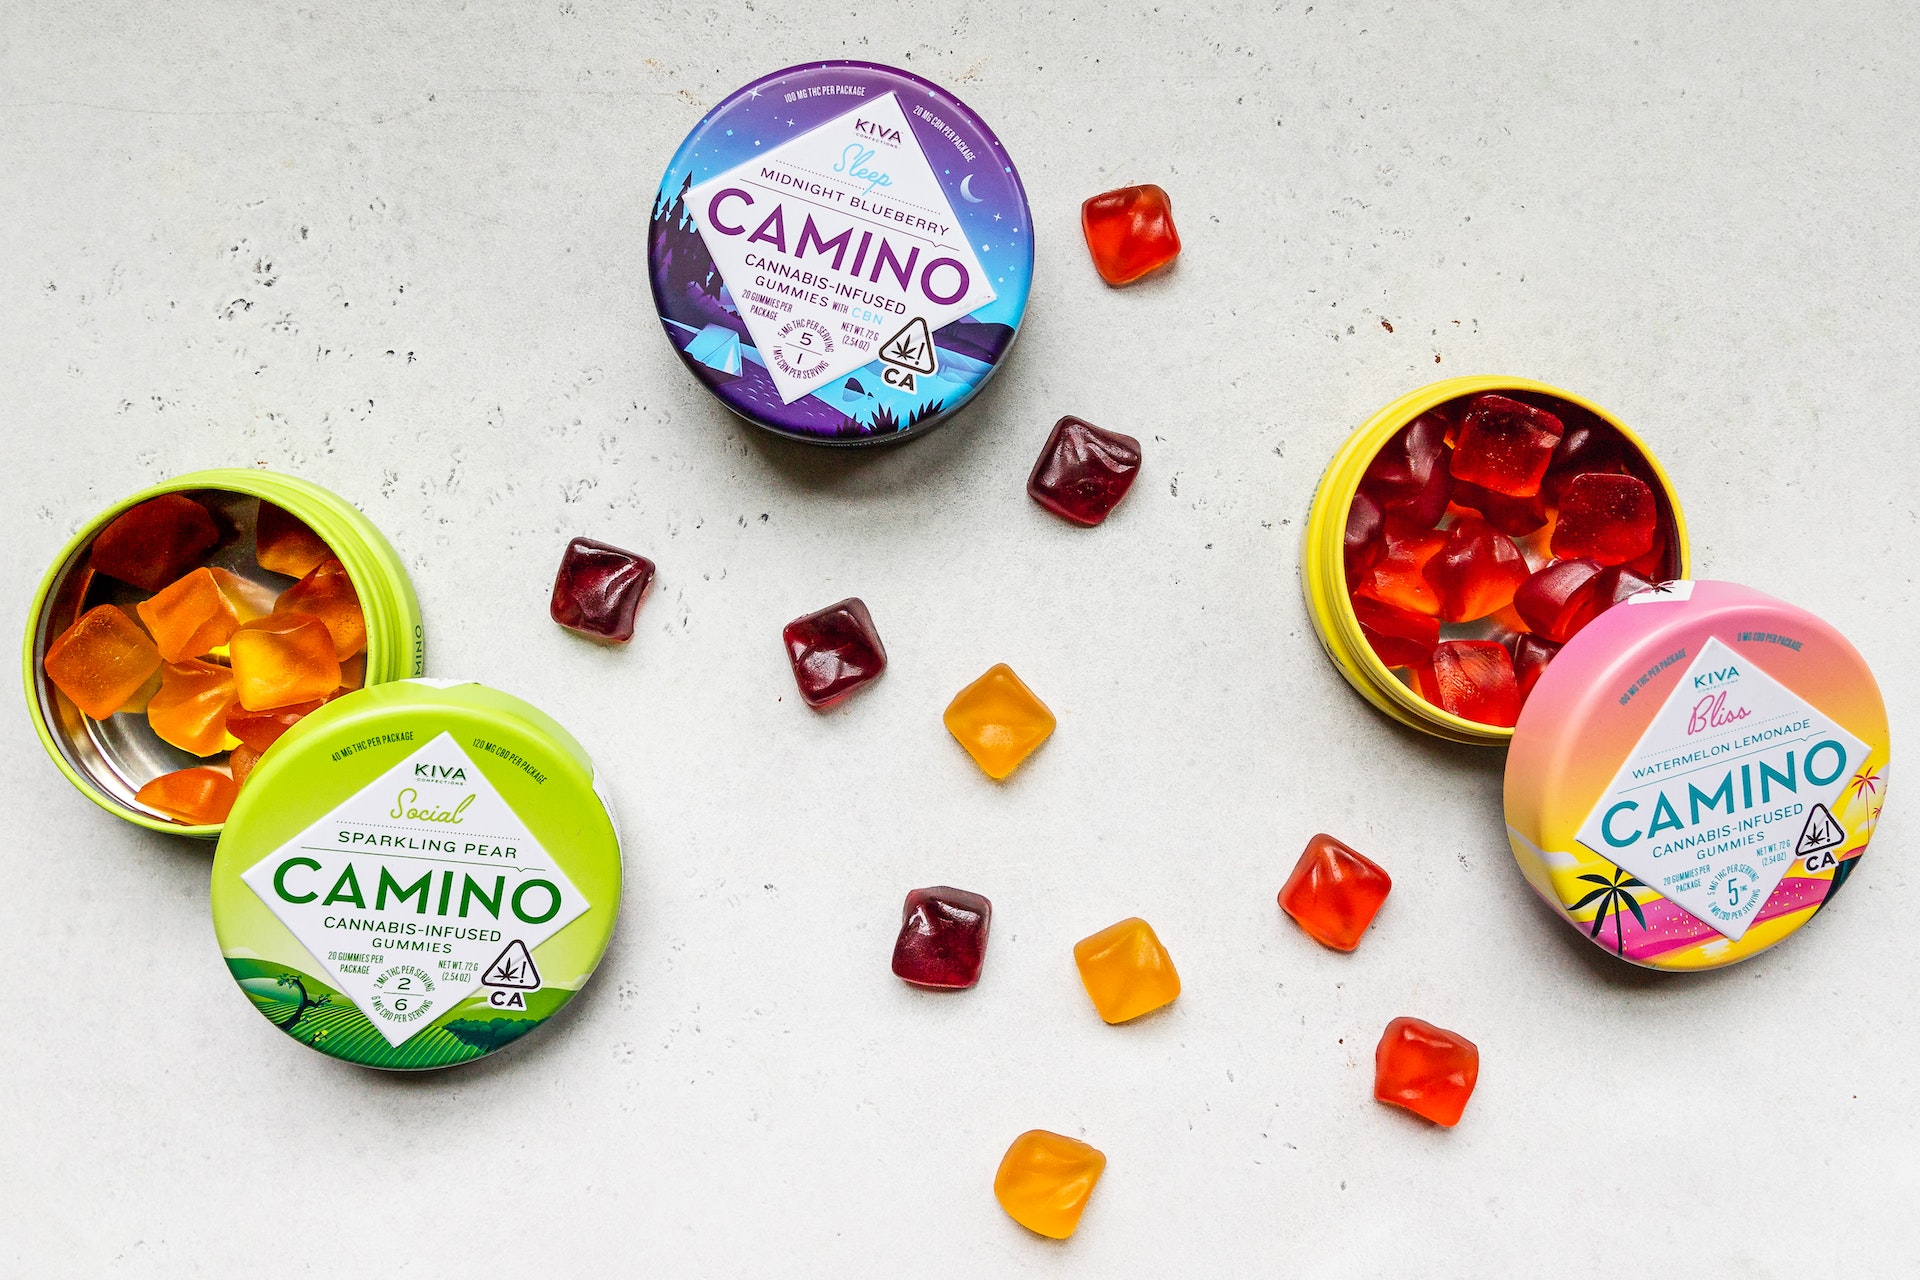
 While many users report feeling relaxed and carefree after consuming these candies, the truth is that they can actually have a negative impact on your ability to focus and concentrate. This is because THC (tetrahydrocannabinol) affects the brain by interfering with its natural balance of neurotransmitters. These chemical messengers are responsible for regulating everything from mood to attention span, so any disruption in their function can lead to serious consequences. For some users, this may manifest as mild forgetfulness or distractibility. For others, it may be more severe – leading to difficulty completing tasks or staying on track during conversations or meetings.
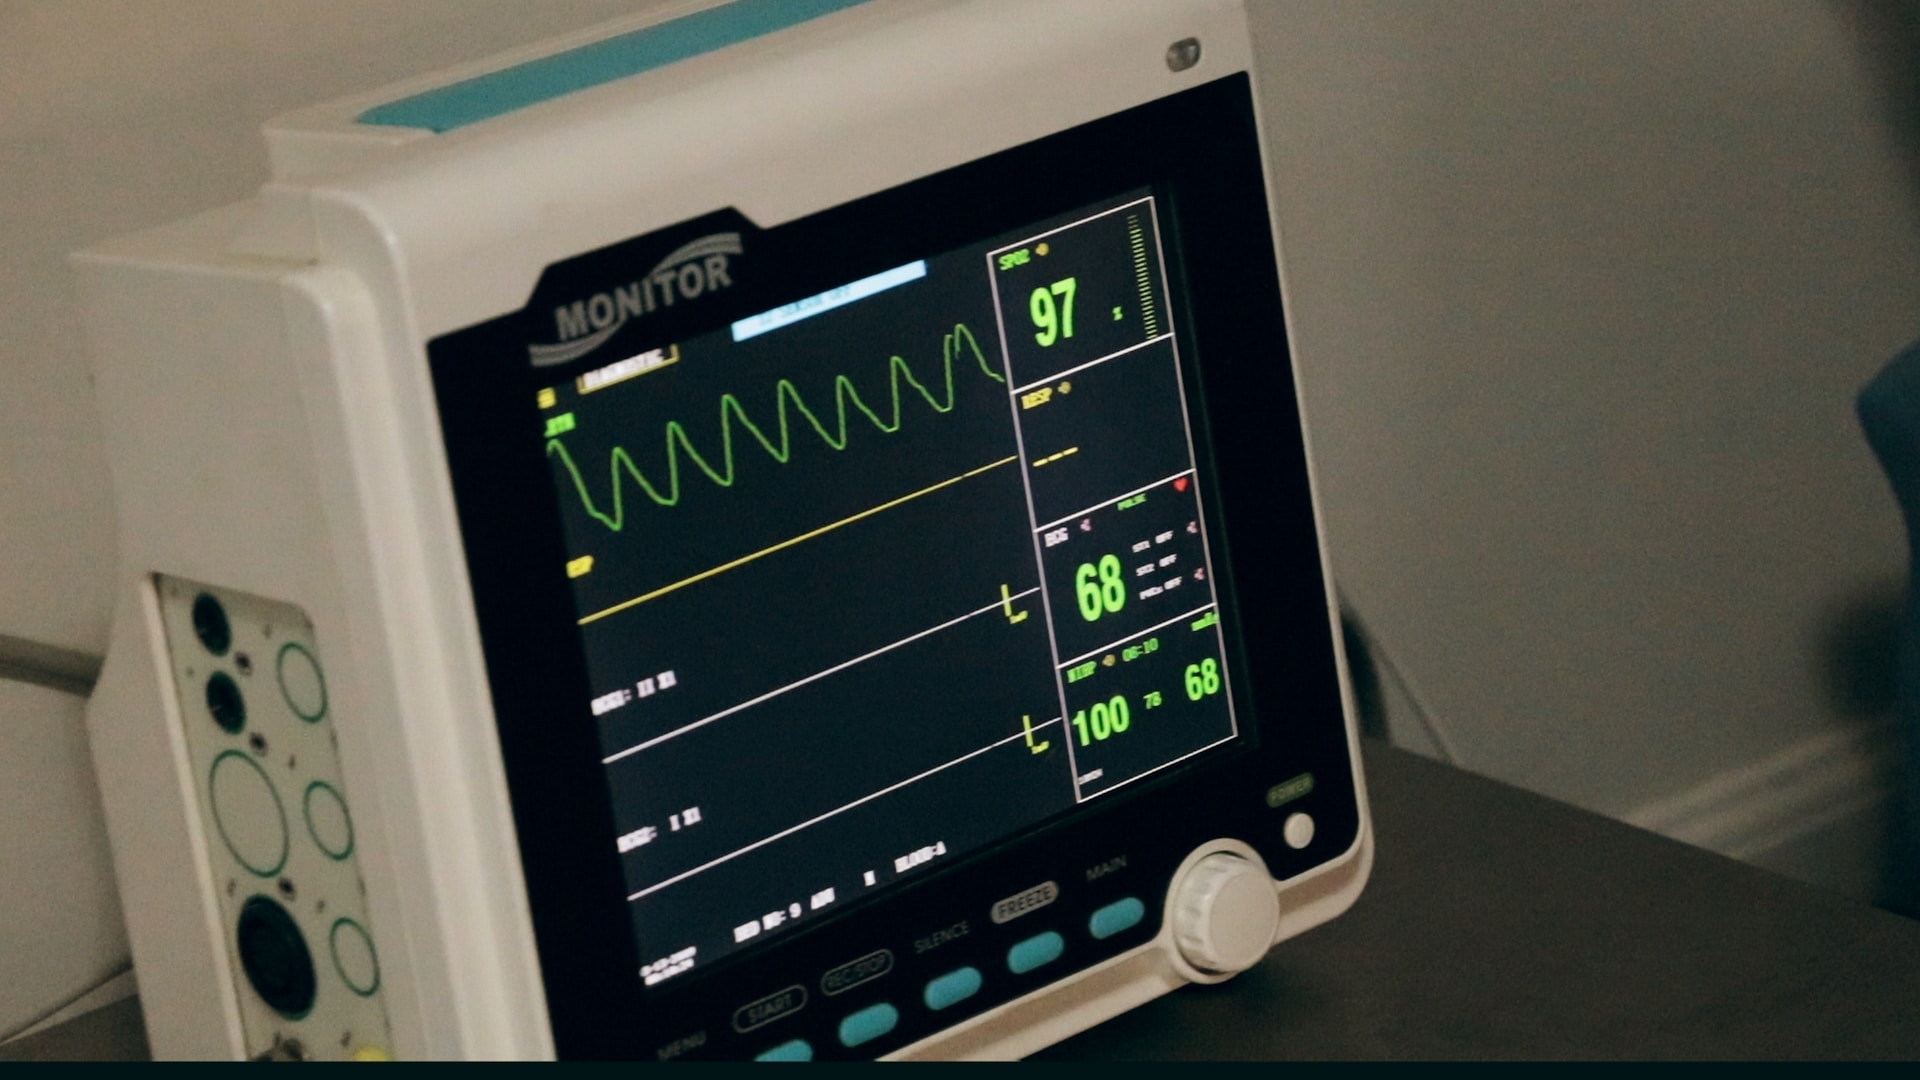
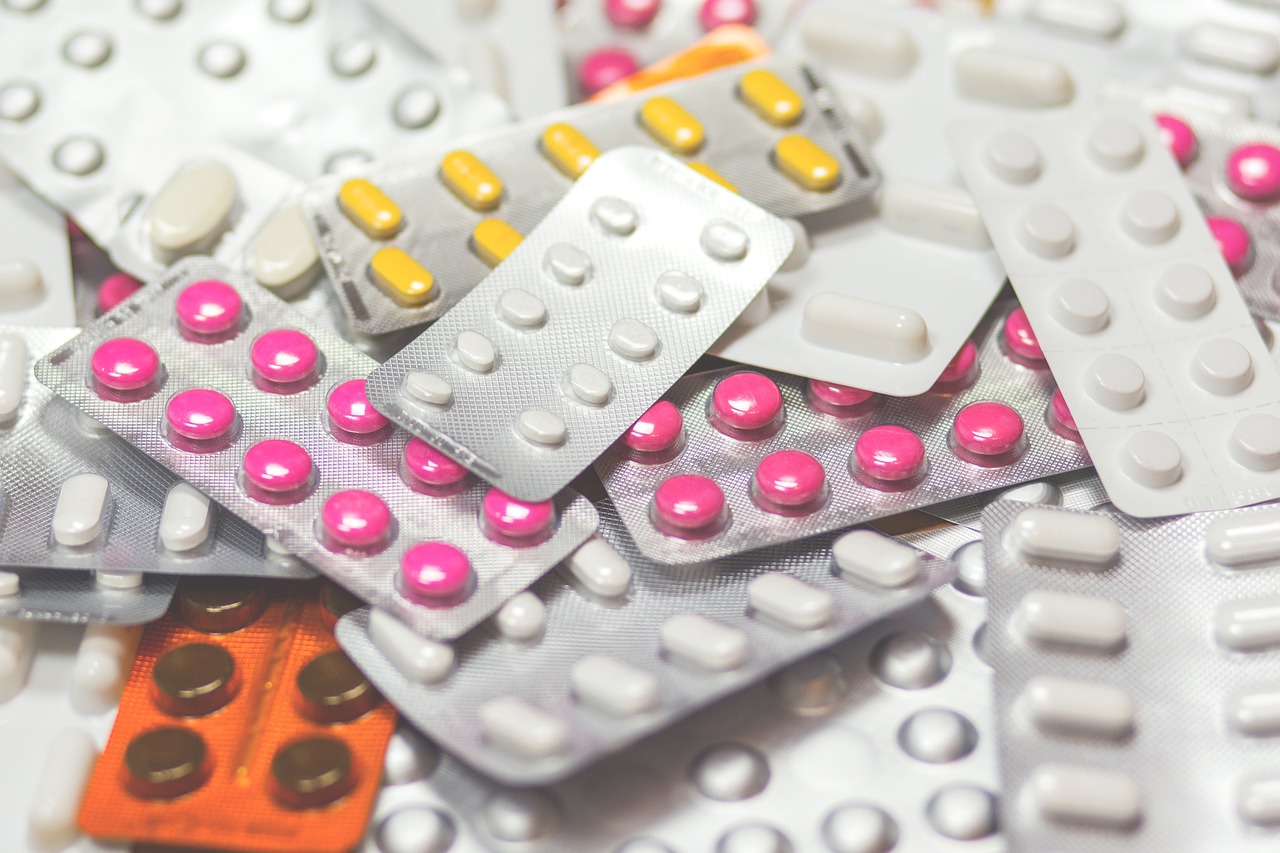
 Our genes determine a lot about who we are, including how our bodies react to medication. Some people may have genetic variations that affect the way their liver processes drugs or how they absorb medications into their bloodstream. These differences can lead to unexpected side effects or even render certain drugs ineffective. One example of genetic variation is in the CYP2D6 gene, which helps break down many commonly prescribed medications. People with certain variants of this gene may metabolize drugs differently than those without the variant, leading to different efficacy and toxicity levels. However, it’s important to note that genetics is just one piece of the puzzle regarding drug reactions.
 One of the top factors that affect drug reactions is interaction with other drugs or medications. It’s essential to discuss any prescription, over-the-counter medicines, vitamins, and supplements you’re currently taking with your healthcare provider before starting a new medication. When two drugs are taken together, they can interact in various ways. Some interactions may enhance the effects of both drugs, while others may decrease their …
 Engaging in regular physical activity is crucial for senior health. It helps maintain cardiovascular fitness, muscle strength, flexibility, and balance. Aim for at least 150 minutes of moderate aerobic activity per week, such as brisk walking or swimming. Additionally, incorporate strength training exercises to preserve muscle mass and bone density. Always consult a healthcare professional before starting any exercise regimen to ensure it aligns with your needs and abilities. Joining an assisted exercise program with a trained instructor can benefit seniors looking to start exercising. Los Angeles assisted living, and many other senior living communities offer such services.


 The type of endoscopy you may be getting can depend on which part of the body needs to be examined. For example, a gastroscopy is used to examine your esophagus and stomach, while a sigmoidoscopy looks at the rectum and lower colon.
 Though endoscopies are often used to diagnose health conditions, they can also be used as a treatment option in some cases. For example, an endoscope can be used to remove polyps from your colon or take biopsies of suspicious areas in your body. In addition, an endoscope equipped with tools can be used to perform certain surgeries, such as repairing a tear in the esophagus or removing kidney stones. As a …
 Acne is one of the most common skin conditions, characterized by pimples and blackheads clogging pores on the face, neck, chest, back, shoulders, and arms. It’s caused by excess oils, sebum, and bacteria. Symptoms may include red bumps, whiteheads, blackheads, cysts, and nodules.


 Now that you have established your goals, assessed your current fitness level, and chosen an exercise program, it’s time to decide how long you want your personalized workout plan to last. The program length will depend on a few factors, such as your fitness level and the type of goal you are trying to achieve. Generally speaking, most people find it beneficial to stick with a program for at least six weeks for the best results.
 Variety should also be incorporated into your personalized workout plan. Not only does it help keep you motivated, but it also encourages your body to adapt and grow constantly. Try adding different exercises, reps, and sets, as well as changing the order of your workouts so you can avoid getting too comfortable with any one routine.
 Finally, fat binders can also help with weight loss by binding to dietary. Carbohydrate blockers are supplements that help reduce the number of carbohydrates


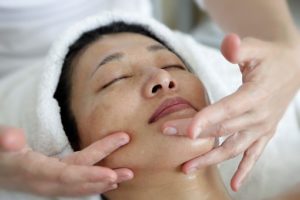
 One of the most common signs that you are ready for Botox is the development of frown lines. Frown lines are those pesky wrinkles that form between your eyebrows when you act like you’re angry or concerned.
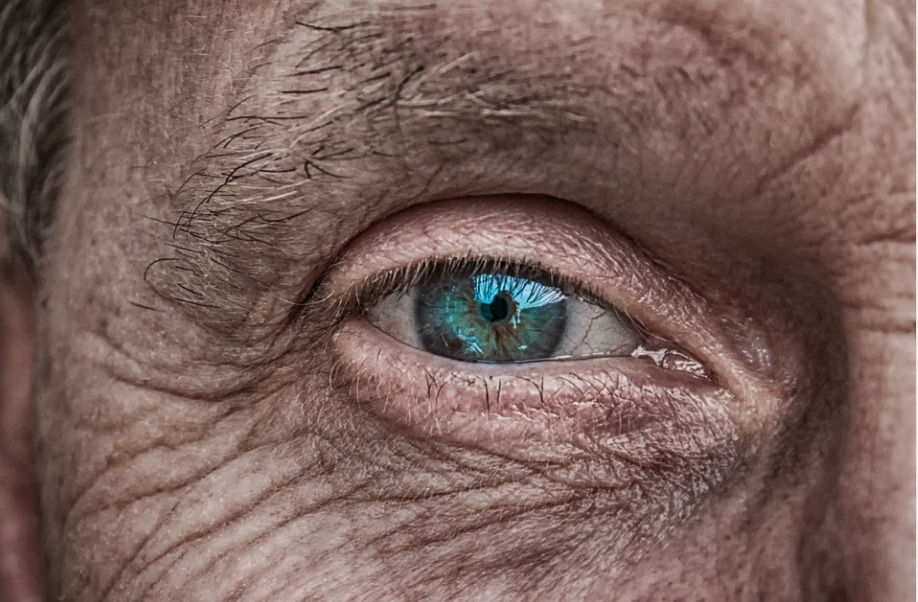 These are wrinkles that form at the corners of your eyes. Crow’s feet can be caused by various factors, including sun damage, smoking, and aging.
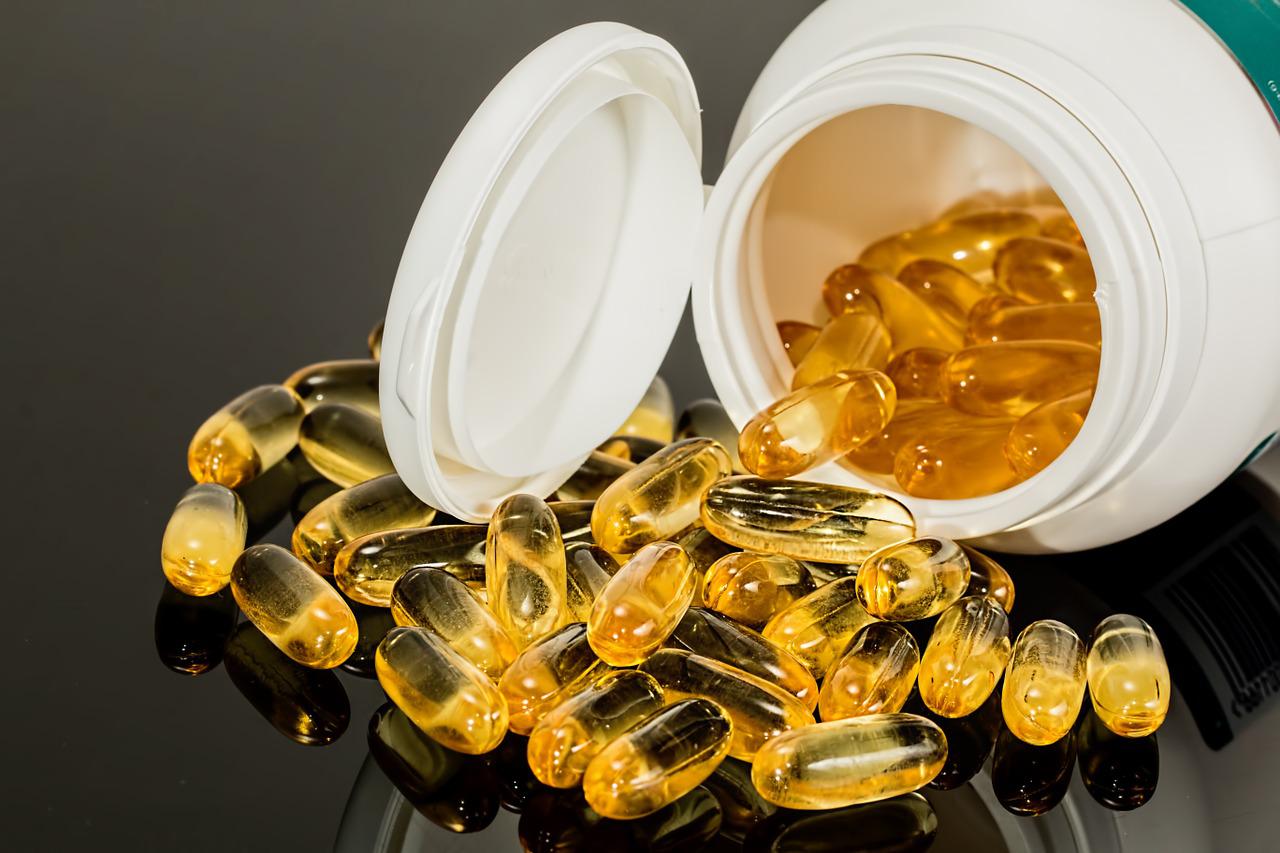

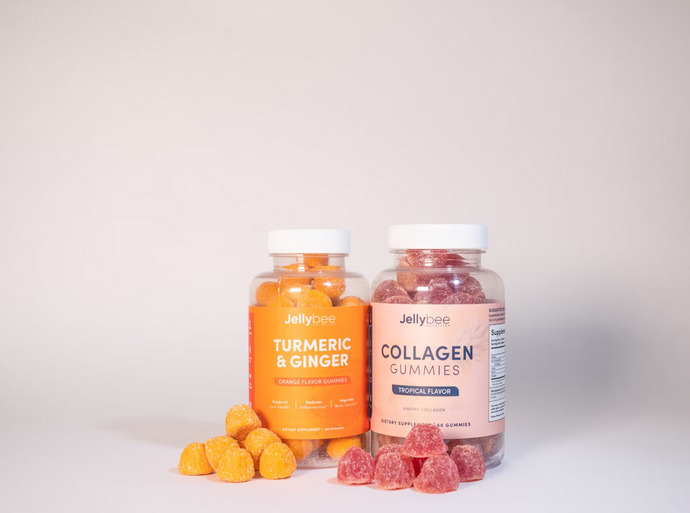
 Finally, reading supplement reviews can help to enhance your knowledge about the products you’re interested in. You can learn a lot about a particular supplement by reading what other people say. You can find out what the benefits are, as well as any potential side effects. So if you want to be an informed consumer, read some reviews before making your final purchase. It could end up being a precious decision. As you can see, there are many good reasons to read supplement reviews before purchasing. So next time you’re considering buying a health supplement, do your research and read some reviews. It could just end up being the best decision you ever make. Thanks for reading.…
 One of the most remarkable health benefits of fasting is giving your digestive system a break. When you fast, your body gets rid of toxins and impurities in the blood. Fasting also helps cleanse the colon and get rid of any accumulated waste in the body.
 A study published in the Journal of Lipid Research found that fasting can help to reduce cholesterol levels. LDL cholesterol is the “bad” cholesterol that can lead to heart disease. The study found that fasting reduced LDL cholesterol by 21 percent. Fasting also increases HDL cholesterol, the “good” cholesterol that helps protect against heart disease.
 Fasting has also been shown to boost brainpower. A study published in the journal PLOS One found that fasting increased cognitive performance and memory. The study found that fasting improved working memory and executive function. Another study found that intermittent fasting helped improve task switching ability and creative problem-solving.
 One of the best things about rock music is that it can
  In addition to improving your mood, rock music can also help reduce stress levels. We all know how stressful life can be. But listening to rock music can help take the edge off. One study found that people who listened to rock music for 30 minutes had lower levels of the stress hormone cortisol. So next time you’re feeling down or stressed out, try putting on some of your favorite rock tunes. It just might help improve your mood and give you a boost of energy. If you’re looking for a way to improve your health, listening to rock music may be the answer.
 Exercise is essential for everyone, but it’s especially crucial for musicians. Playing an instrument can be taxing on your body, and spending long hours sitting down can lead to back problems and other issues. Taking some time to do some light exercise will help keep your body healthy and strong. Even something as simple as going for a walk or doing some stretches can make a big difference. A 30-minute walk a day can help improve your mental and physical well-being.
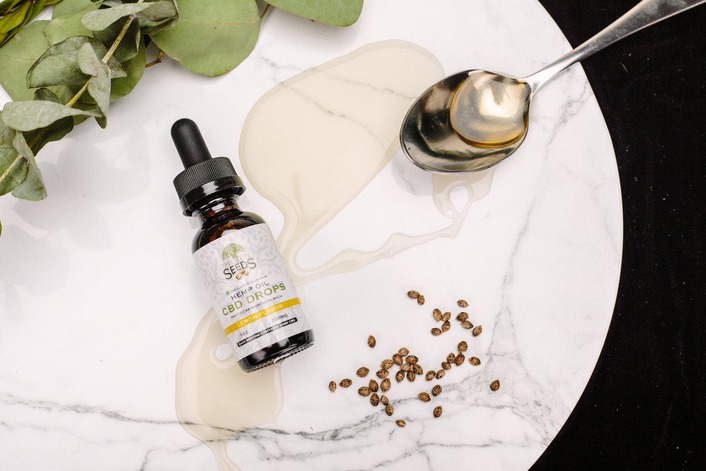
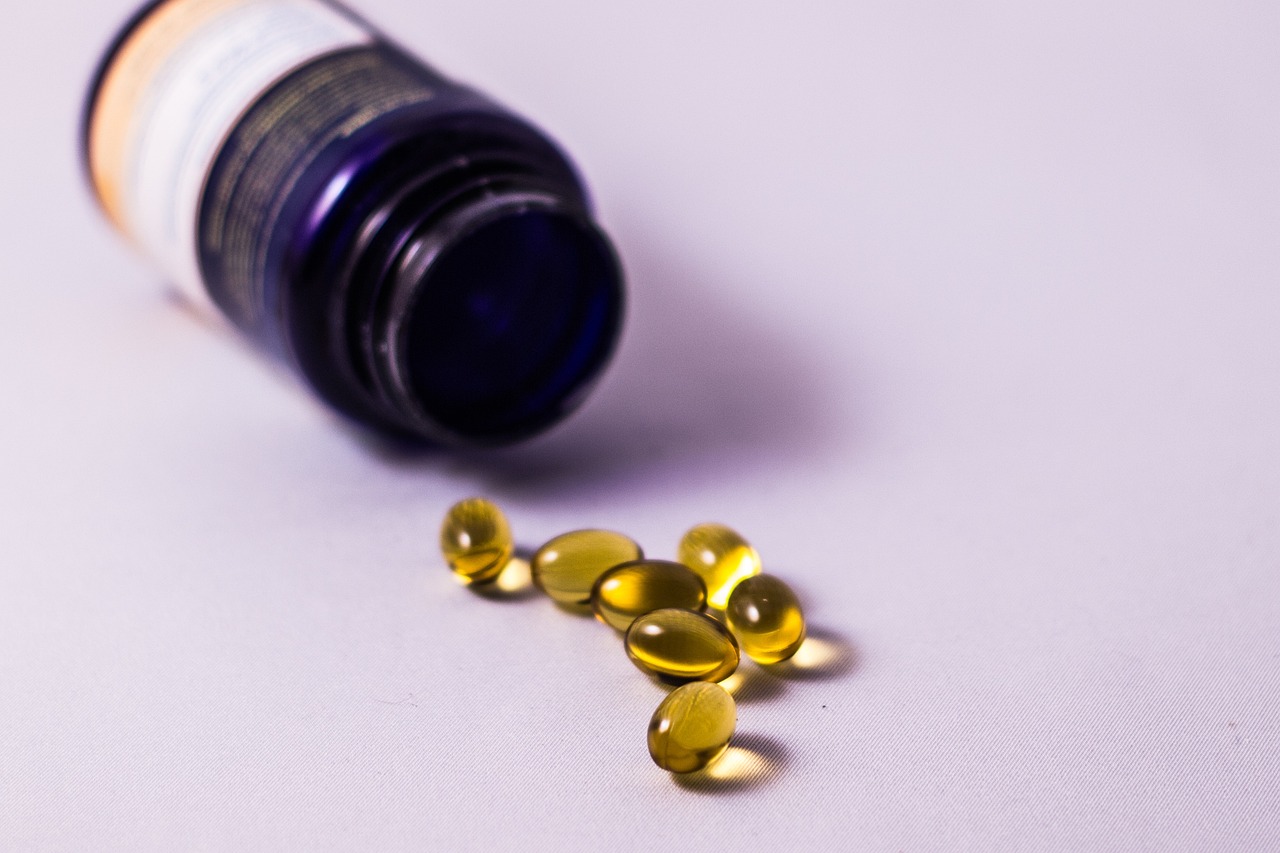
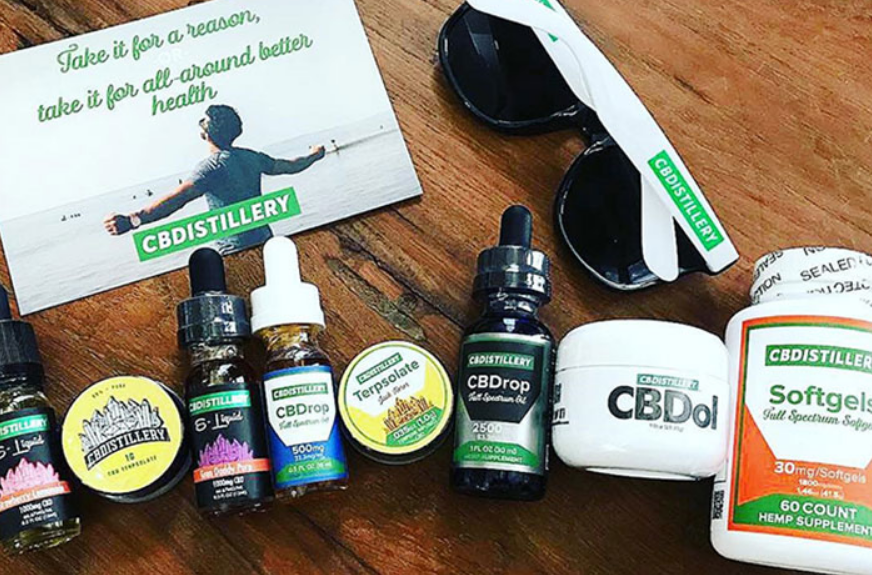
 CBD oil works in your body by interacting with the endocannabinoid system. This system regulates many different processes, including mood, appetite, and pain perception. CBD oil can help support this system’s function by stimulating the production of cannabinoids, which are natural compounds that help regulate various roles in the body.
 In the market, you can find various types of CBD oil. One of them is the full-spectrum CBD oil. This type of CBD oil retains all cannabinoids found in the hemp plant. Full-spectrum CBD oil also has a small amount of THC, which is the compound that is responsible for the psychoactive effects of marijuana. However, this amount is so low that it does not produce any psychoactive effects when consumed. Full-spectrum CBD oil is more effective than other types of CBD at treating some conditions, such as chronic pain and inflammation.

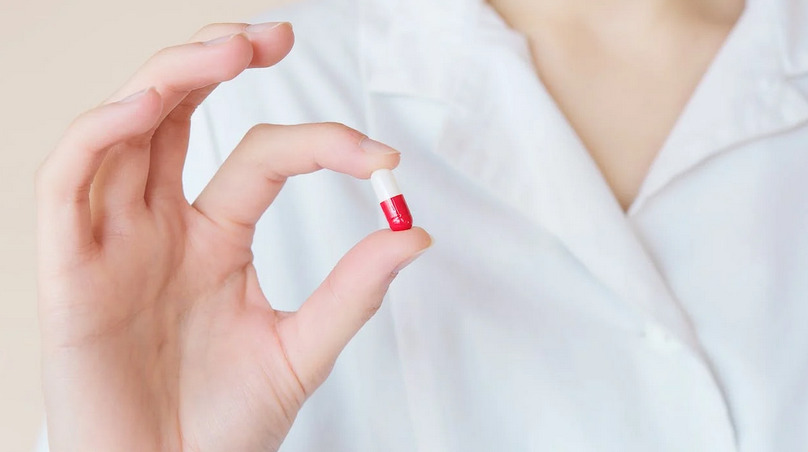
 Weight loss pills can be addictive if you take them for an extended period and then suddenly stop taking them. Because your body has grown used to the ingredients in these diet supplements, it’s not uncommon for people who have been taking weight loss pills to experience symptoms like headaches or fatigue when they’re no longer on their routine. This is something else to think about before starting a weight loss pill. These are just three things to consider before taking a weight loss pill. If you’re still not sure what’s the best option for you, be sure to consult with your doctor.
 CBD oil can show a significant impact on relieving oxidative stress. This type of disorder is related to antioxidant properties. It results from the imbalance between the blood and the oxygen it contains, along with the free radicals. In short, free radicals can be unstable, and the individual cells always oxidize when an individual takes a breath in the atmosphere. This disorder can result in damaged organs over time. However, scientists have conducted some studies regarding the use of CBD oil to treat this disorder. The findings showed that it could boost the immune system and combat oxidative stress gradually.

 The next thing that you want to know is that you need to pick your yoga practice style. It should be according to your deep personal preferences. You may choose between Bikram, Hatha, Ashtanga, or …
 A healthy diet includes foods high in calcium and vitamin D. These include dairy products, yogurt, cheese, low-fat dairy products, fish, and dark leafy veggies. Your diet should consist of a wide variety of fruits, vegetables, and other foods that provide vitamins and minerals necessary for strong bones. Soya milk is an option for lactose-intolerant people. You should limit your intake of alcohol and sodas, as too much can cause a decrease in bone mineral density.
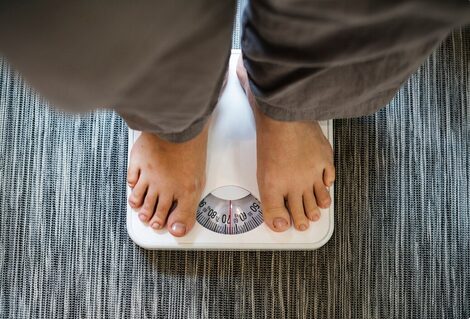
 Maintaining a healthy weight is essential to support bone health. This is particularly true for a postmenopausal woman who has lost estrogen’s bone-protective effects. Low body weight is the most critical factor in bone loss and reduction as we age. However, studies have shown that obesity can lower bone quality and increase fracture risk due to excess weight. It is also possible to lose a lot of weight quickly and repeatedly, which can be detrimental to your bone health. Your best option for bone health is to maintain a steady weight or slightly above average.
 It is essential to check the years of experience of a chiropractor and ask the chiropractor about the number of people he has treated with a similar condition. If the chiropractor has done several procedures on several patients, you have an assurance that you will get the best results from this professional. If you have a joint issue that needs a specific procedure, then consider asking the chiropractor about how many
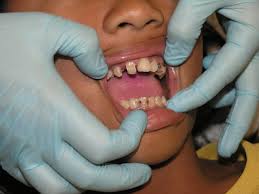
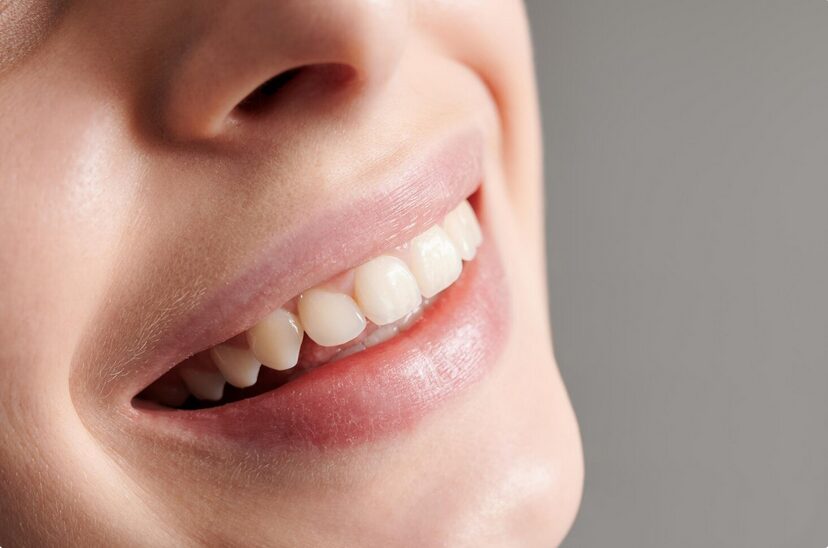
 There are many different cases where people would need to get dental implants. You could have been in an accident or a fight, and your tooth gets damaged. You could also have had tooth decay that ate up your tooth. Sometimes it is not your tooth but your teeth. There are different dental implant offers which include can accommodate a variety of cases. You should know what you need for your teeth so that you can compare the prices. Your case can also determine the specific dentist you go to because each has their specializations.

 The cannabis plants contain hundreds of cannabinoids. Tetrahydrocannabinol (THC) and cannabidiol (CBD) are the most common ones. Delta 8 THC is one of the numerous cannabinoids, but it does not get as much attention as THC and CBD.
 Delta 8 THC seems to be of much benefit than THC, and you might be wondering why you haven’t heard of it before. Delta 8 THC is not as abundant as
 Natural honey has healing elements that cure your coughs and relieve you from the pains that come with colds. Common colds are mostly accompanied by coughs, sore throats, and respiratory tract infections. Consuming CBD honey sticks can relieve you from cold conditions and protect you from contracting them by improving your immune system.
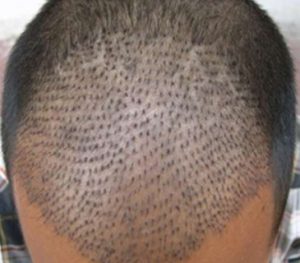 In this digital era, businesses ought to follow different practices that help them keep up with the market and customers. If the clinic does not have an establishment, that is a sign of a poor-quality clinic. Reputable businesses know that their customers are online. Thus, their sites act as digital storefronts for the services they offer. In fact, a great hair transplant clinic will have a website that is easy-to-navigate, free of clutter, and informational. Moreover, it should be interactive and sleek.


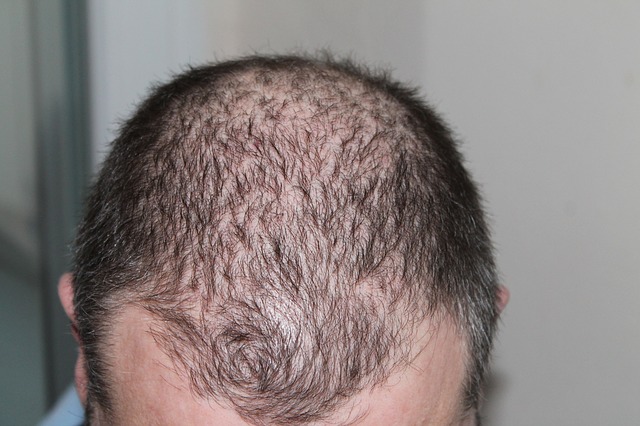 Hair loss can truly give you low self-esteem, which is understandable because you sure are not looking your best without your hair.
  Pleasant Personality


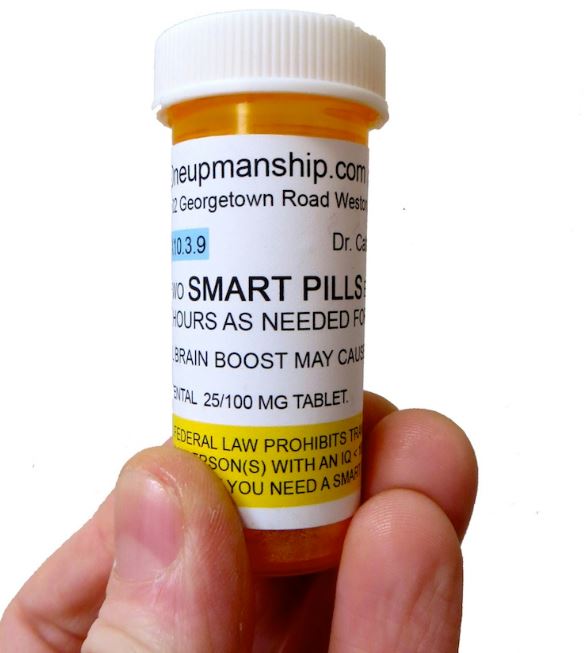
 drugs in most parts of the world. Smart drugs also follow in that order. Using nootropics in high doses can lead to cardiovascular illnesses, chronic depression, severe headache, and metabolic risks. There are several precautions you should take when using these type of drugs. They include:
 experiencing the different after effects that come with their use. Using these drugs in excess can bring a lot of adverse effects that might even claim your life. Doctors will usually recommend a dose after examining your body. Take in the recommended dose to be in the perfect state of health all the time.…
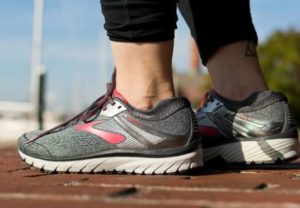 in ensuring you are comfortable and have an easy time during your training. Shoes that are oversized will not provide you with the much-needed comfort which is required for one to have proper or a highly productive training session. Get the right measurements for the perfect shoe.…
 Do Your Research
 An Expert

 Depending on the consistency and the persistence of the hairs you want to eliminate, you may need several sessions of the treatment. If you are born with a gene that promotes thick hair growth, then you may require three to six visits to the laser removal clinic.
 Before the beautician conducts the laser treatment, he/she will usually ask you to shave the desired area first so that the laser can penetrate deeply into your skin. However, you should not cut yourself because the laser procedure can worsen the condition of an open wound.
 Laser hair removal will leave your skin extra sensitive for a while. You are better to avoid direct sunlight, chlorinated water, and harsh skin products such as scrubs and deodorants. If you receive the laser treatment on your facial skin, then you shall resist from applying …
Always Accurate
In case an employer suspects any monkey business around the workplace, this is where a drug test comes in handy. It gets even better when you have an accurate kit to expose all the filth going on around the office.
However, it can’t always be as accurate as you want it to be. On the contrary, this factor only depends on the credibility of the products that you settle for. The tricky part is that there are plenty of them and it might get a bit confusing to try and figure out the right one.
Another factor that you need to look into as an employer is a usage. Always be a step ahead of your employers. This way, you will avoid any gimmicks that might come as a rude shock. It will surprise you how everything will fall neatly into place especially when you have the right products within your reach.
Quicker Results
 With genuine best synthetic urine kits and other drug test products close by, you won’t have to worry about so much time elapsing. Checking most of the online platforms, you can also get fake pee and toxin removal product reviews that claim to help stoners beat the drug tests. When conducted under the right circumstances, drug tests are sure to bring prompt and accurate results.
For instance, if all the employees were assembled and tested at the same place, the employer would know the next step to take to protect their empire. Back in the day, no one can attest to the convenience that is experienced in this day and age.
Technology wouldn’t have come at a better time than this especially now when most people think that drugs are the solution to every problem that they face in life. At least now we can rest assured of having quick and prompt drug test results.
Clear system
What better way to ensure a safe workplace than a clear and sober system? An accurate system can do this and more when given a chance. As mentioned earlier, the workplace should be a platform for every employee to showcase their talents and diligence.
Use of all kinds of drugs can be a limitation especially to employees
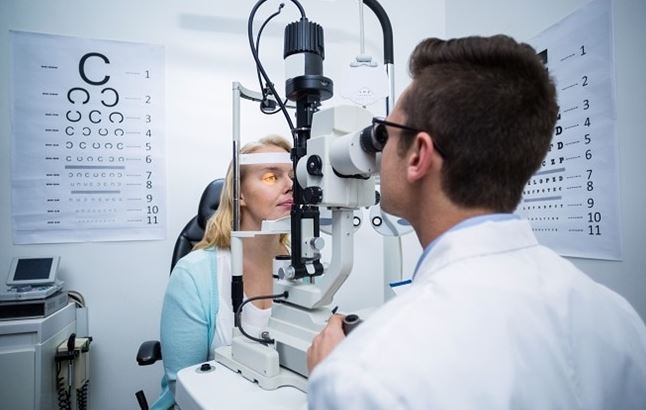
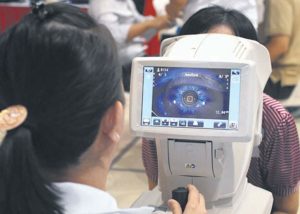 for eye checkups is also vital for your well-being. Your eyes will be examined to find out if there might be any conditions you are facing. You should choose the best eye clinic for quality service. Consider the following when selecting one.
 attend to your medical needs whenever you are in need. You may want to consult them on several occasions, and that is when you will want proper answers. They should be available 24/7 to address your medical issues fast.…